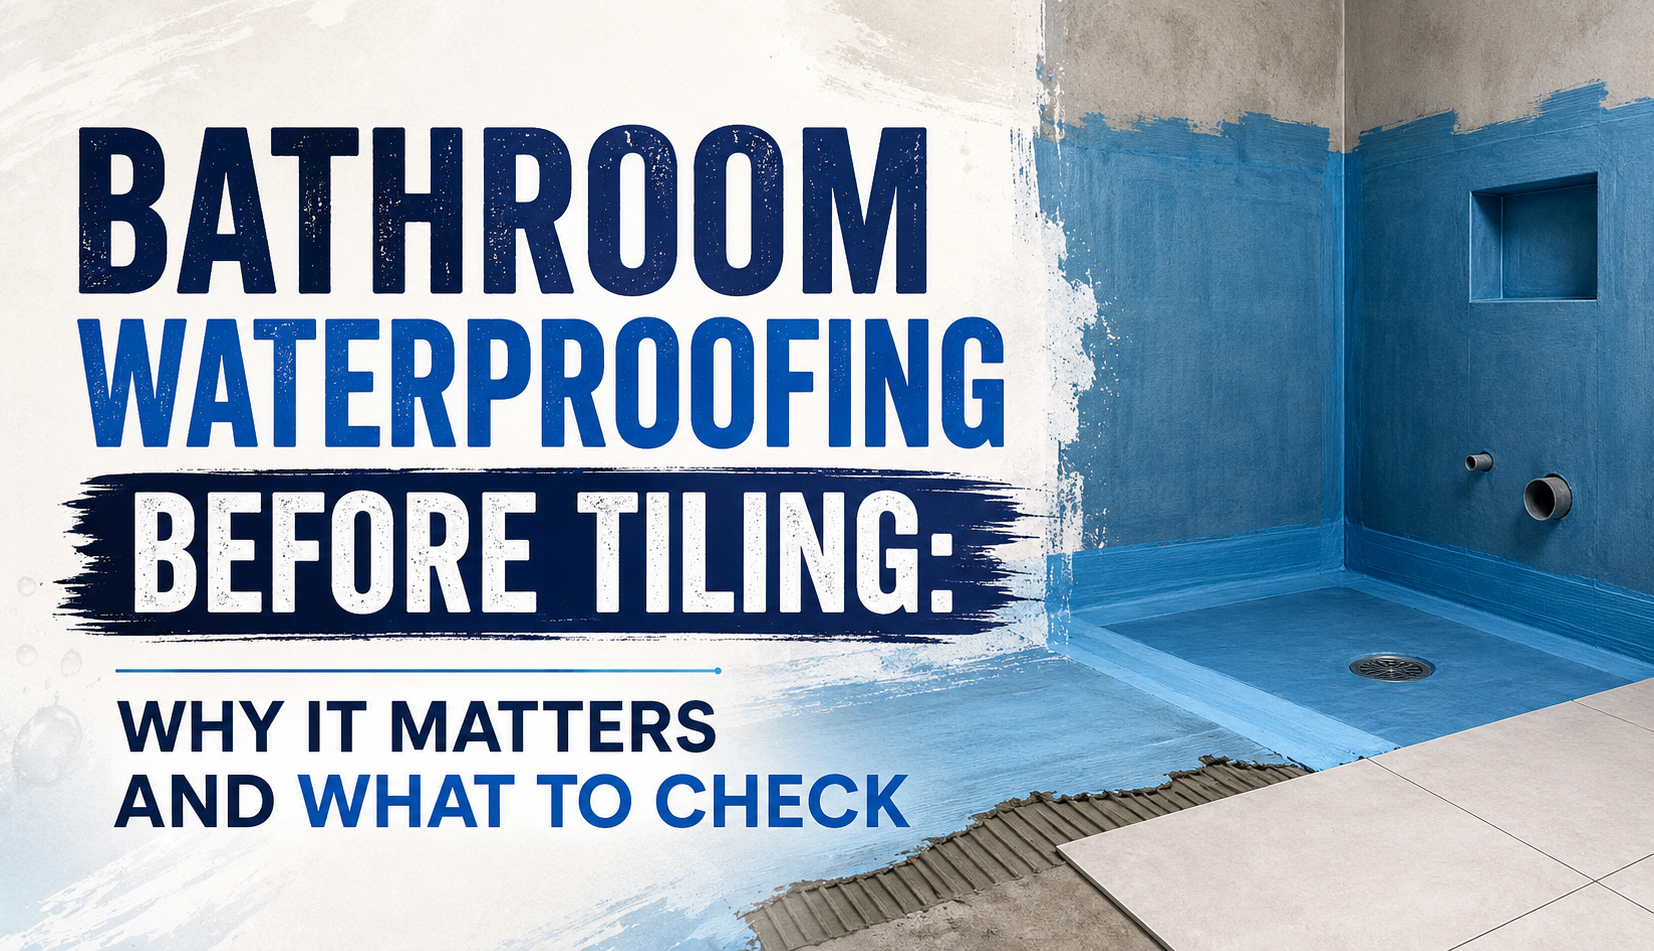
A beautiful bathroom needs more than attractive tiles. Before you install tiles, you need to make sure the surfaces underneath are properly protected from water. Waterproofing before tiling helps prevent moisture from reaching walls, floors and other parts of the building where it can cause long-term damage.
This is especially important in shower areas because these surfaces receive water regularly. A small waterproofing problem may not be obvious at first, but over time it can contribute to dampness, mould, damaged surfaces, loose tiles and costly repairs.
For homeowners planning a bathroom renovation in Sydney, understanding the bathroom waterproofing process can help you make better decisions and know what to check before the first tile goes onto the wall.
Why Is Waterproofing Important Before Tiling?
Tiles and grout help protect bathroom surfaces, but they should not be treated as the complete waterproofing system. Water can find its way through joints, gaps, cracks and penetrations if the underlying area has not been properly protected.
The National Construction Code (NCC) includes specific requirements for wet-area waterproofing, including shower areas, wall and floor junctions and penetrations. The NCC also references AS 3740 for waterproofing requirements.
Proper waterproofing creates a protective barrier beneath the tiles. It helps stop water from moving into the building structure and gives your bathroom a stronger foundation for the years ahead.
In simple terms:
Tiles provide the finish. Waterproofing provides the protection underneath.
What Is the Best Way to Waterproof a Shower Before Tiling?
The best way to waterproof a shower before tiling is to prepare the surface correctly, use a suitable waterproofing system and make sure all important joints, corners and penetrations receive the required treatment.
A typical process involves several important stages.
1. Prepare the Surface
The surface must be suitable for waterproofing before any membrane is applied.
Remove dust, dirt, loose material and anything that could affect the bond. The substrate should be properly prepared, stable and suitable for the waterproofing product being used.
Any major cracks, holes, uneven areas or damaged sections should be addressed before waterproofing begins.
Good preparation may seem like a small step, but it can make a major difference to the final result.
2. Check the Floor and Wall Junctions
Corners and junctions need special attention because they can be vulnerable points for water movement.
The wall-to-floor junction should receive the appropriate waterproofing treatment. The NCC requires waterproofing at wall/floor junctions within shower areas.
This is one reason professional preparation matters. Simply covering a large flat surface is not enough. The details around corners and joins also need to be handled correctly.
3. Treat Internal Corners and Joints
Internal corners can move slightly as a building responds to temperature, moisture and normal movement.
A suitable waterproofing system should address these areas according to the manufacturer’s instructions and applicable requirements. Depending on the system, reinforcing materials or compatible treatments may be required at joints and corners.
The goal is to create a continuous protective system rather than leaving weak points where water can enter.
4. Waterproof Around Pipes and Fittings
Shower pipes, taps, drains and other fittings create openings through the substrate. These penetrations need proper waterproofing.
The NCC specifically requires penetrations within shower areas to be waterproofed, including penetrations associated with taps, shower nozzles and mechanical fixings.
This is an area where rushing the job can create serious problems later.
5. Apply the Waterproofing Membrane Correctly
A waterproofing membrane creates the main protective barrier beneath the tiles.
The membrane needs to be compatible with the substrate and installed according to the product manufacturer’s instructions. It should form a continuous system across the required areas, including properly treated corners, junctions and penetrations.
For shower areas, the NCC sets requirements for waterproofing coverage, including waterproof floors and walls to the required height in applicable shower configurations.
The exact requirements can vary depending on the bathroom design, substrate and shower configuration, so a qualified professional should assess the project rather than relying on a one-size-fits-all approach.
Understanding the Bathroom Waterproofing Process
The bathroom waterproofing process generally starts well before the waterproofing membrane goes onto the surface.
A simple overview looks like this:
Surface preparation → Joint and corner treatment → Penetration treatment → Membrane application → Curing → Inspection → Tiling
Let’s look at these stages in more detail.
Surface Preparation
The area is cleaned and prepared so the waterproofing system can bond correctly.
Detailing
Corners, wall/floor junctions, changes in materials and penetrations are treated using compatible products and methods.
Membrane Application
The waterproofing product is applied to the required surfaces in accordance with its installation instructions.
Curing
The waterproofing system needs adequate time to cure before the next stage begins. The required drying or curing time depends on the specific product and conditions.
Inspection
Before tiling starts, the completed waterproofing should be checked carefully. Look for incomplete coverage, damage, gaps or areas that need attention.
Tiling
Once the waterproofing system has been completed and is ready for tiling, the tile installation can begin using suitable materials and installation methods.
What Areas of a Bathroom Need Waterproofing?
Not every surface in a bathroom is necessarily treated in exactly the same way. Requirements depend on the area, construction method and relevant building requirements.
Shower areas receive particularly important waterproofing treatment.
The NCC identifies requirements for:
- Shower floors
- Shower walls
- Wall-to-floor junctions
- Wall junctions and joints
- Penetrations
- Areas around baths and spas
- Other wet-area surfaces
For example, the NCC’s housing provisions state that, for applicable shower configurations, shower floors must be waterproof and shower walls must be waterproof to the specified height.
This is why it is important to consider the entire wet area rather than focusing only on the floor.
What Happens If You Skip Waterproofing?
Skipping or incorrectly installing waterproofing can create problems that may not appear immediately.
Water can move behind the finished surfaces and affect the substrate or surrounding building materials. Over time, homeowners may notice:
- Damp or musty smells
- Mould growth
- Loose or damaged tiles
- Cracked grout
- Swollen or damaged materials
- Water stains
- Peeling finishes
- Moisture appearing in nearby areas
Once water has reached areas underneath the bathroom, repairs can become much more complicated.
In some cases, fixing the problem may require removing tiles and other finished surfaces before the underlying issue can be addressed.
That is why it is usually better to get the waterproofing right before tiling rather than trying to repair a hidden water problem later.
Common Bathroom Waterproofing Mistakes to Avoid
Even a good waterproofing product cannot compensate for poor preparation or incorrect installation.
Some common mistakes include:
Using the wrong product
Not every waterproofing product is suitable for every substrate or wet-area application. Always follow the manufacturer’s instructions and applicable requirements.
Poor surface preparation
Dust, loose material or an unsuitable substrate can affect the waterproofing system.
Missing corners and junctions
Water can find weak points around corners and joins, so these areas need careful attention.
Ignoring pipe penetrations
Small openings around pipes can become potential paths for water if they are not properly treated.
Tiling too soon
Waterproofing products need to cure according to their specified requirements before the next stage begins.
Damaging the membrane
Even after waterproofing has been completed, care must be taken during subsequent work. A damaged membrane can compromise the protection underneath the tiles.
What Should You Check Before Tiling?
Before your tiler starts installing tiles, take time to check the waterproofing work.
Look for:
- Complete coverage
Make sure the required areas have been treated. - Properly treated corners
Check internal corners and wall/floor junctions. - Sealed penetrations
Pipe and fitting penetrations should receive appropriate waterproofing treatment. - Suitable membrane
Make sure the product is appropriate for the application. - Proper curing
Allow the system to cure according to the manufacturer’s requirements. - No visible damage
Check that the membrane has not been damaged before tiling begins.
7.Correct drainage
The shower floor should be designed and constructed to drain water appropriately.
If you are unsure about any part of the work, ask a qualified professional to inspect it before covering the waterproofing with tiles.
Waterproofing and Tiling Should Work Together
A successful bathroom renovation requires both waterproofing and quality tiling.
Waterproofing protects the structure underneath, while professional tiling creates the finished surface that you see every day.
Good tiling also requires careful planning. The substrate, tile layout, adhesive, grout lines, cuts and drainage all need attention.
At Glow Max Stone & Tiling, we understand that a bathroom needs to look good while also being practical and durable. For Sydney homeowners planning a bathroom renovation or new tiling project, careful preparation is an important part of achieving a quality finish.
You can learn more about the services available from Glow Max Stone & Tiling.
What happens if a bathroom is tiled without proper waterproofing?
Water may penetrate behind the tiles and cause damage to the substrate or surrounding building materials. Problems can take time to appear, which can make them more difficult and expensive to repair.
Final Thoughts
Bathroom waterproofing is one of the most important steps to complete before installing tiles. A beautiful tile design cannot compensate for poor protection underneath.
The best way to waterproof a shower before tiling is to take a careful, methodical approach. Prepare the surface, treat corners and junctions, seal penetrations, use the correct waterproofing system and allow it to cure properly before tiling.
If you are planning a bathroom renovation in Sydney, don’t treat waterproofing as an optional extra. It forms an important part of creating a bathroom that is functional, durable and built to handle everyday moisture.
Plan the waterproofing first, then focus on creating the beautiful tiled finish.